Easy-to-build and affordable carry tote for your Cornhole bean bags
Make setting up your games of Cornhole (bean bag toss) more enjoyable and keep the bags neatly stored when not in use and easy to carry when on the go.
Materials Required:
Wood Products:
- (1) 1/2" Thick, 24" x 24", Plywood
Hardware/Supplies:
- (1) Strap (I used nylon strapping, but you could use rope, leather or other flexible fabric material)
- (2) Hooks - or drill holes to knot rope thru. I used bottle openers :)
- (1) Knob (only if using lid. I used a 7/8" cherry dowel)
- (14) 1" coarse thread Kreg pocket hole screws {verify the screw length with your current model of Kreg Jig - mine is quite old and specifies 1" for 1/2" plywood}
Parts/Cut List:
- (2) Ends, 7″w x 7 1/2″h
- (2) Sides, 12″w x 4 3/4″h
- (1) Base, 13″ w x 7″h
- (1) Lid (optional), 11 15/16″w x 7″h
Step 1: Cut the Pieces
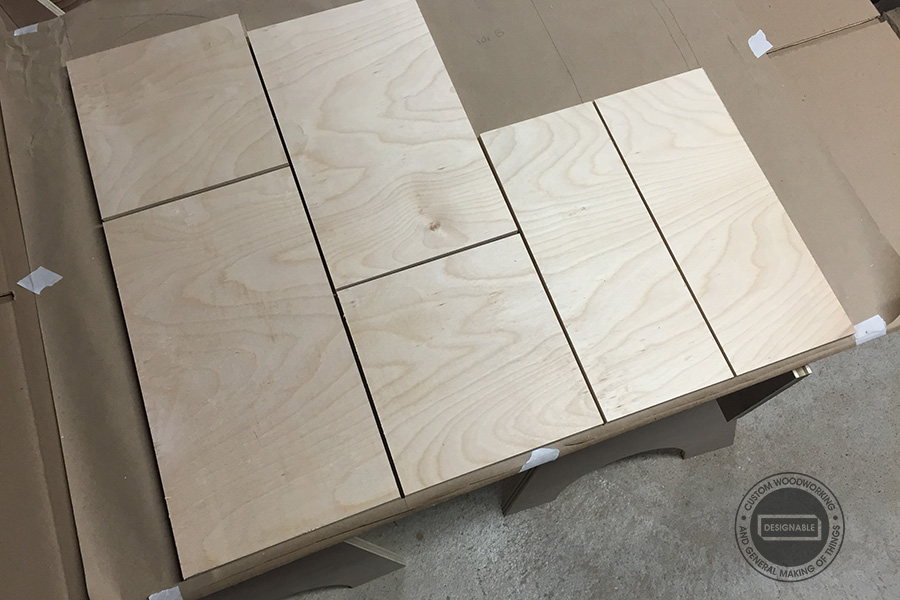
Using a tablesaw (or circular saw), cut up a 1/2″ thick 2′ x 2′ plywood sheet to get the parts needed. I chose to make a lid for the box, which isn’t entirely necessary and not doing so will allow you to make the sides (and ends) taller to fit extra bags or scorecards inside. In this step is also where you can get creative with an edge detail or other profile. I decided to miter the top corners of the end pieces.
Step 2: Drill the Pocket Holes
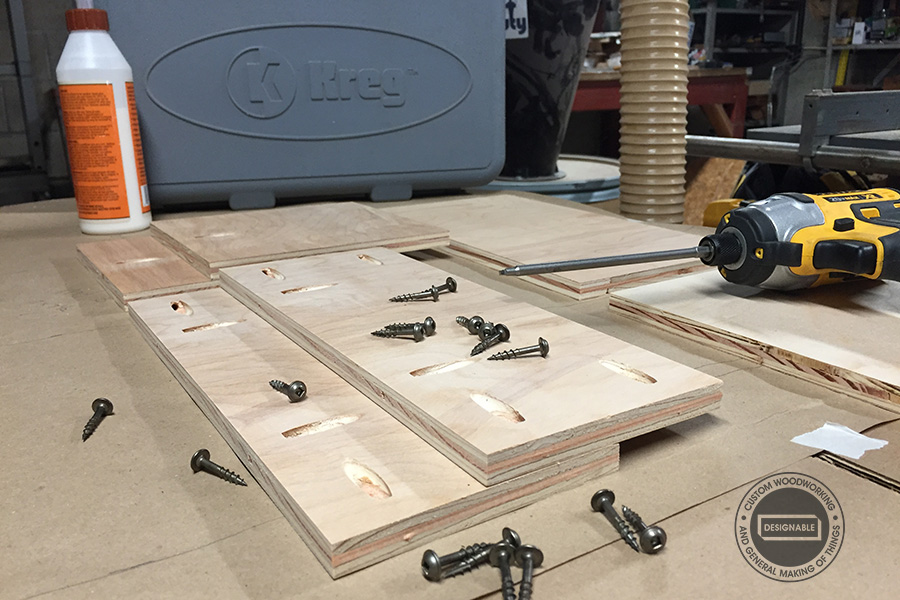
Using a Kreg Pocket Hole Jig, drill holes in the sides and end pieces to be able to attach them together and to the base. *Be sure to set your drill bit depth for 1/2″ material. Drill 2 holes in each short end on the side pieces (to attach to the end pieces), drill 2 holes along one long edge of the side pieces (to attach to the base) and also drill 1 hole in the center of each end piece (to attach to the base.
Be mindful of where you place the pocket hole so that your drill (or hand with the screwdriver) can easily drive the screw – 1 1/2″ from the edge is adequate.
Step 3: Assembly
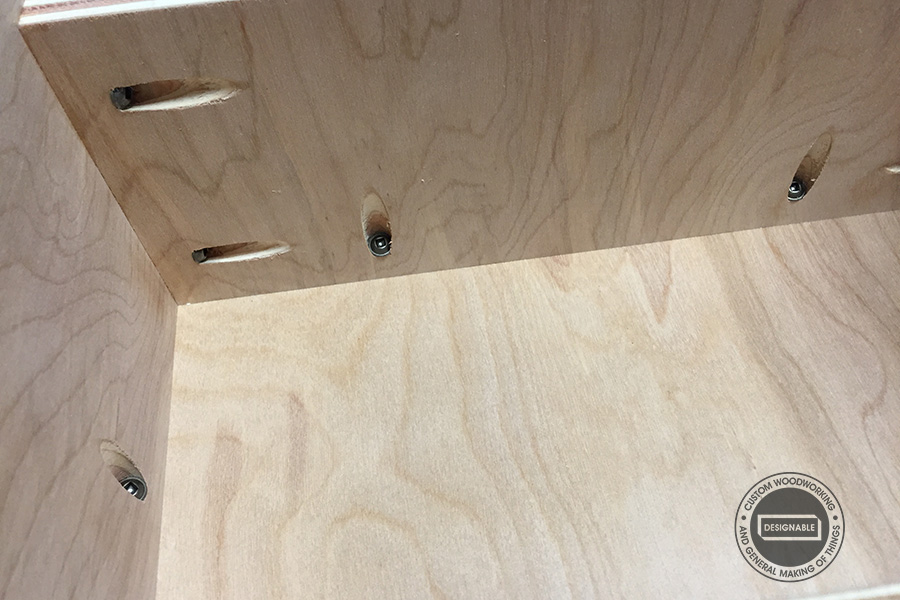
Using 1 1/4″ coarse thread screws (If you have an older model Kreg Jig like I do, it may specify 1″ screws. Read your manual or run some test holes on the same thickness scrap) and a long square drive bit in your drill (or use a square drive screwdriver), add some glue to the mating surfaces, clamp the pieces together (I find if you let the glue tack up for a few minutes before driving the screws you’ll reduce any slippage of the pieces {DAP rapidfuse adhesive would be great for this step}) and proceed to tighten the screws.
*Don’t overtighten or you’ll strip out the soft plywood. I put the sides on the ends first, then attached that to the base. Sand and apply the finish as desired.
Step 4: Install Hardware
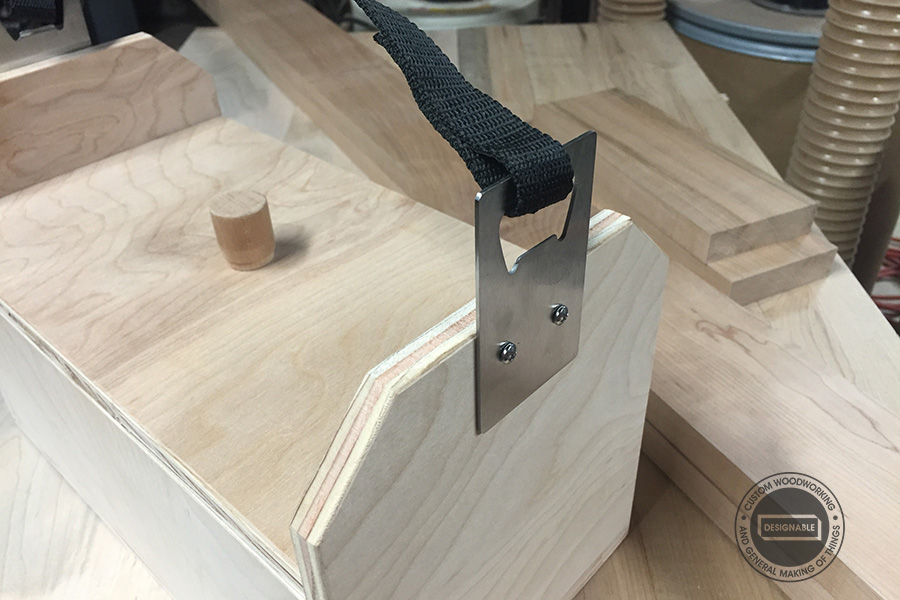
Mount your hooks, or drill holes to accept your chosen strapping. It is personal preference how long the handle should be. I had a 2ft piece of nylon strap on hand which I looped through stainless steel bottle openers (because who doesn’t like a beverage when playing games?) and used 5-minute epoxy to glue to itself. You could easily tie a couple knots in some rope for an even easier handle.
If you don’t want to have a lid, you can skip the next steps (and skip that step when cutting the panels).
Step 5: Lid, Attaching a Knob (this step is optional)
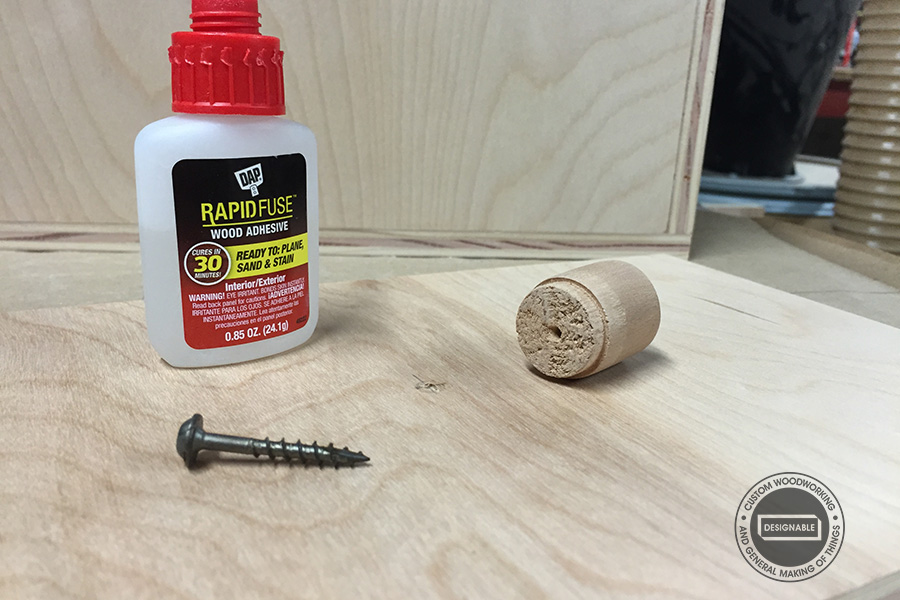
Mark the center and drill a small hole for a screw. Then dab some glue on the knob and screw the two pieces together.
Step 6: Lid, Attaching Cleats (this step is optional)
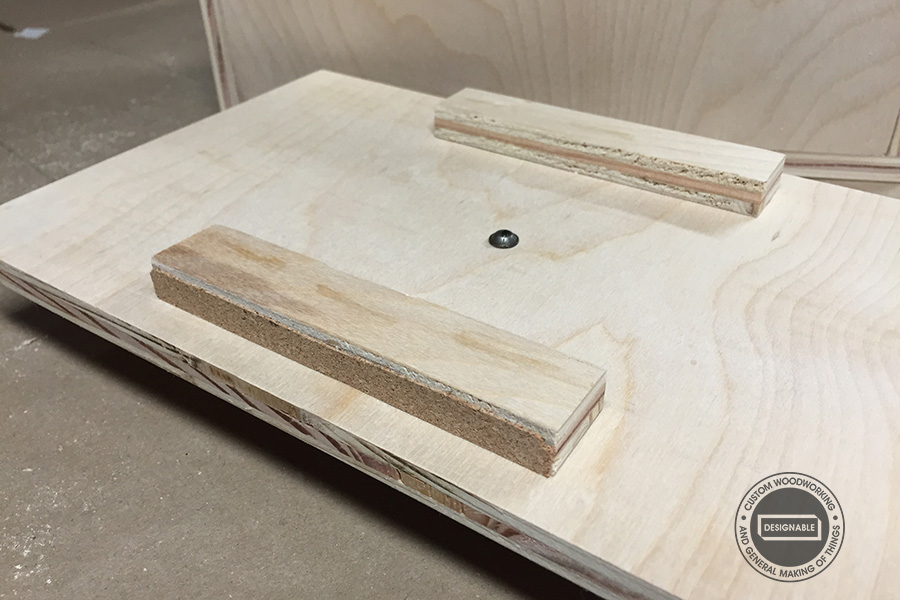
Cut some 6″ long 1″ wide cleats (or whatever offcuts are generated from cutting the pieces to size) from the extra plywood. Measure in (TIP: use the scrap plywood and get the exact thickness) from the edge and mark a line where you will be attaching these cleats. Use glue and clamps to secure in place. DAP rapidfuse glue comes in really handy to quickly and strongly secure these cleats in place.
I had some cork on hand that I glued to one edge, so I intentionally moved 1 piece inward a hair so that the cork would create a snug fit. You don’t have to do this. If the lid is too tight to fit then you can just sand the cleats until it does fit.